STÍL SOLAS • MORE
The Art of Making
Seasonal crafts, thoughtful materials, and beautiful things made by hand.
From simple seasonal traditions to more intricate creative projects,
The Art of Making celebrates the pleasure of creating something
with your own hands.
STÍL SOLAS • OCTOBER 2026
Pressed Autumn Leaves, Preserved in Wax
Capture October’s richest colors in a simple seasonal keepsake that
brings the beauty of fallen leaves indoors.
What You’ll Need
- Fresh autumn leaves with intact stems
- Beeswax or suitable craft wax
- Double boiler or heat-safe water-bath setup
- Wax pouring container
- Parchment paper
- Tweezers or long-handled tongs
- Heat-resistant work surface
STEP 01
Choose and Prepare Your Leaves
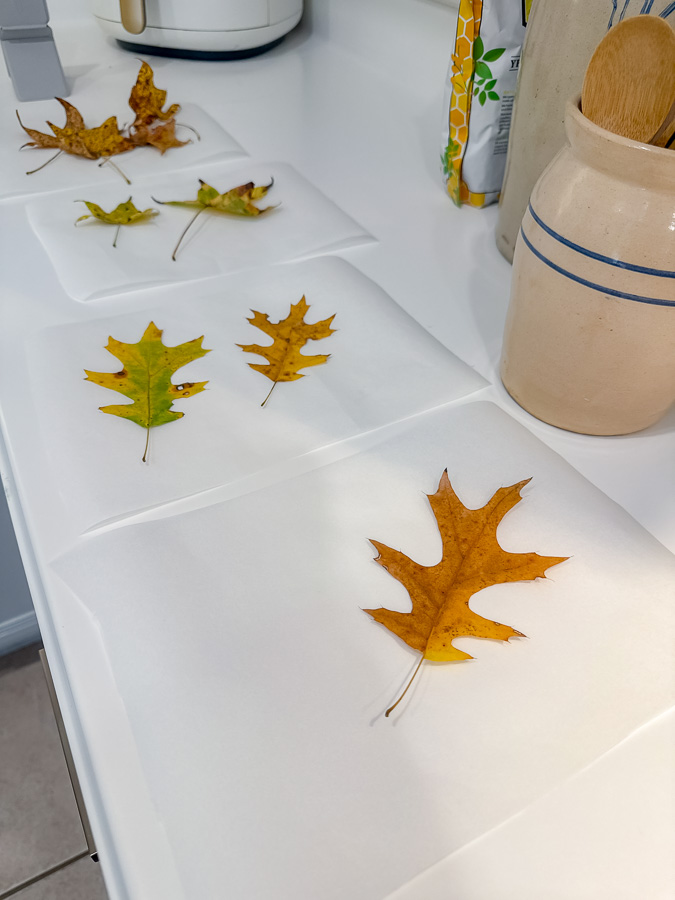
Choose colorful leaves that are still flexible rather than brittle.
Place them on parchment paper and gently flatten them if necessary.
Leaves with strong veins and rich autumn color make especially
beautiful finished pieces.
STEP 02
Melt the Wax
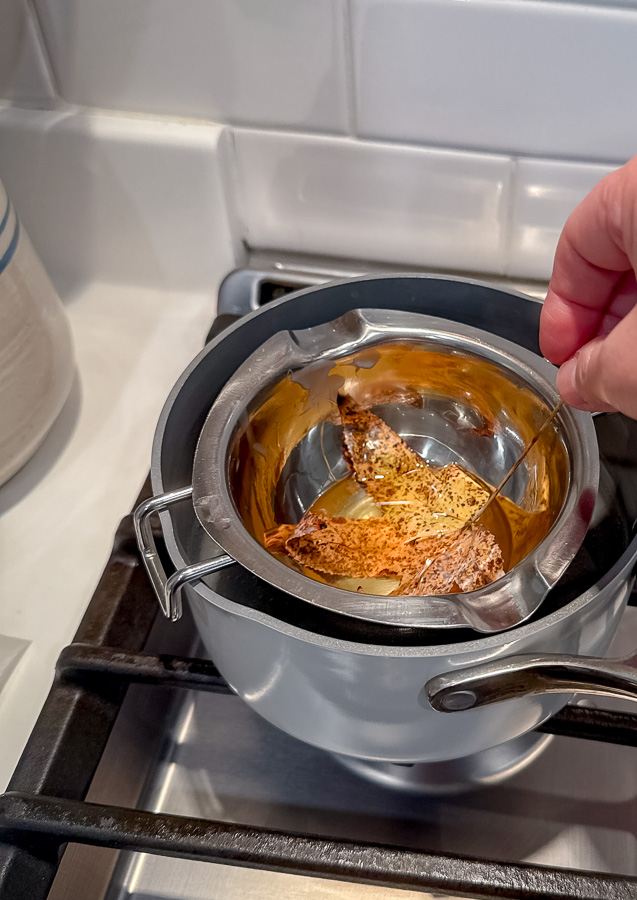
Melt the beeswax using a double-boiler or water-bath method. Keep the
wax container sitting in hot water rather than placing it directly
over the heat source. Work carefully because melted wax is hot.
STEP 03
Coat the Leaf in Wax
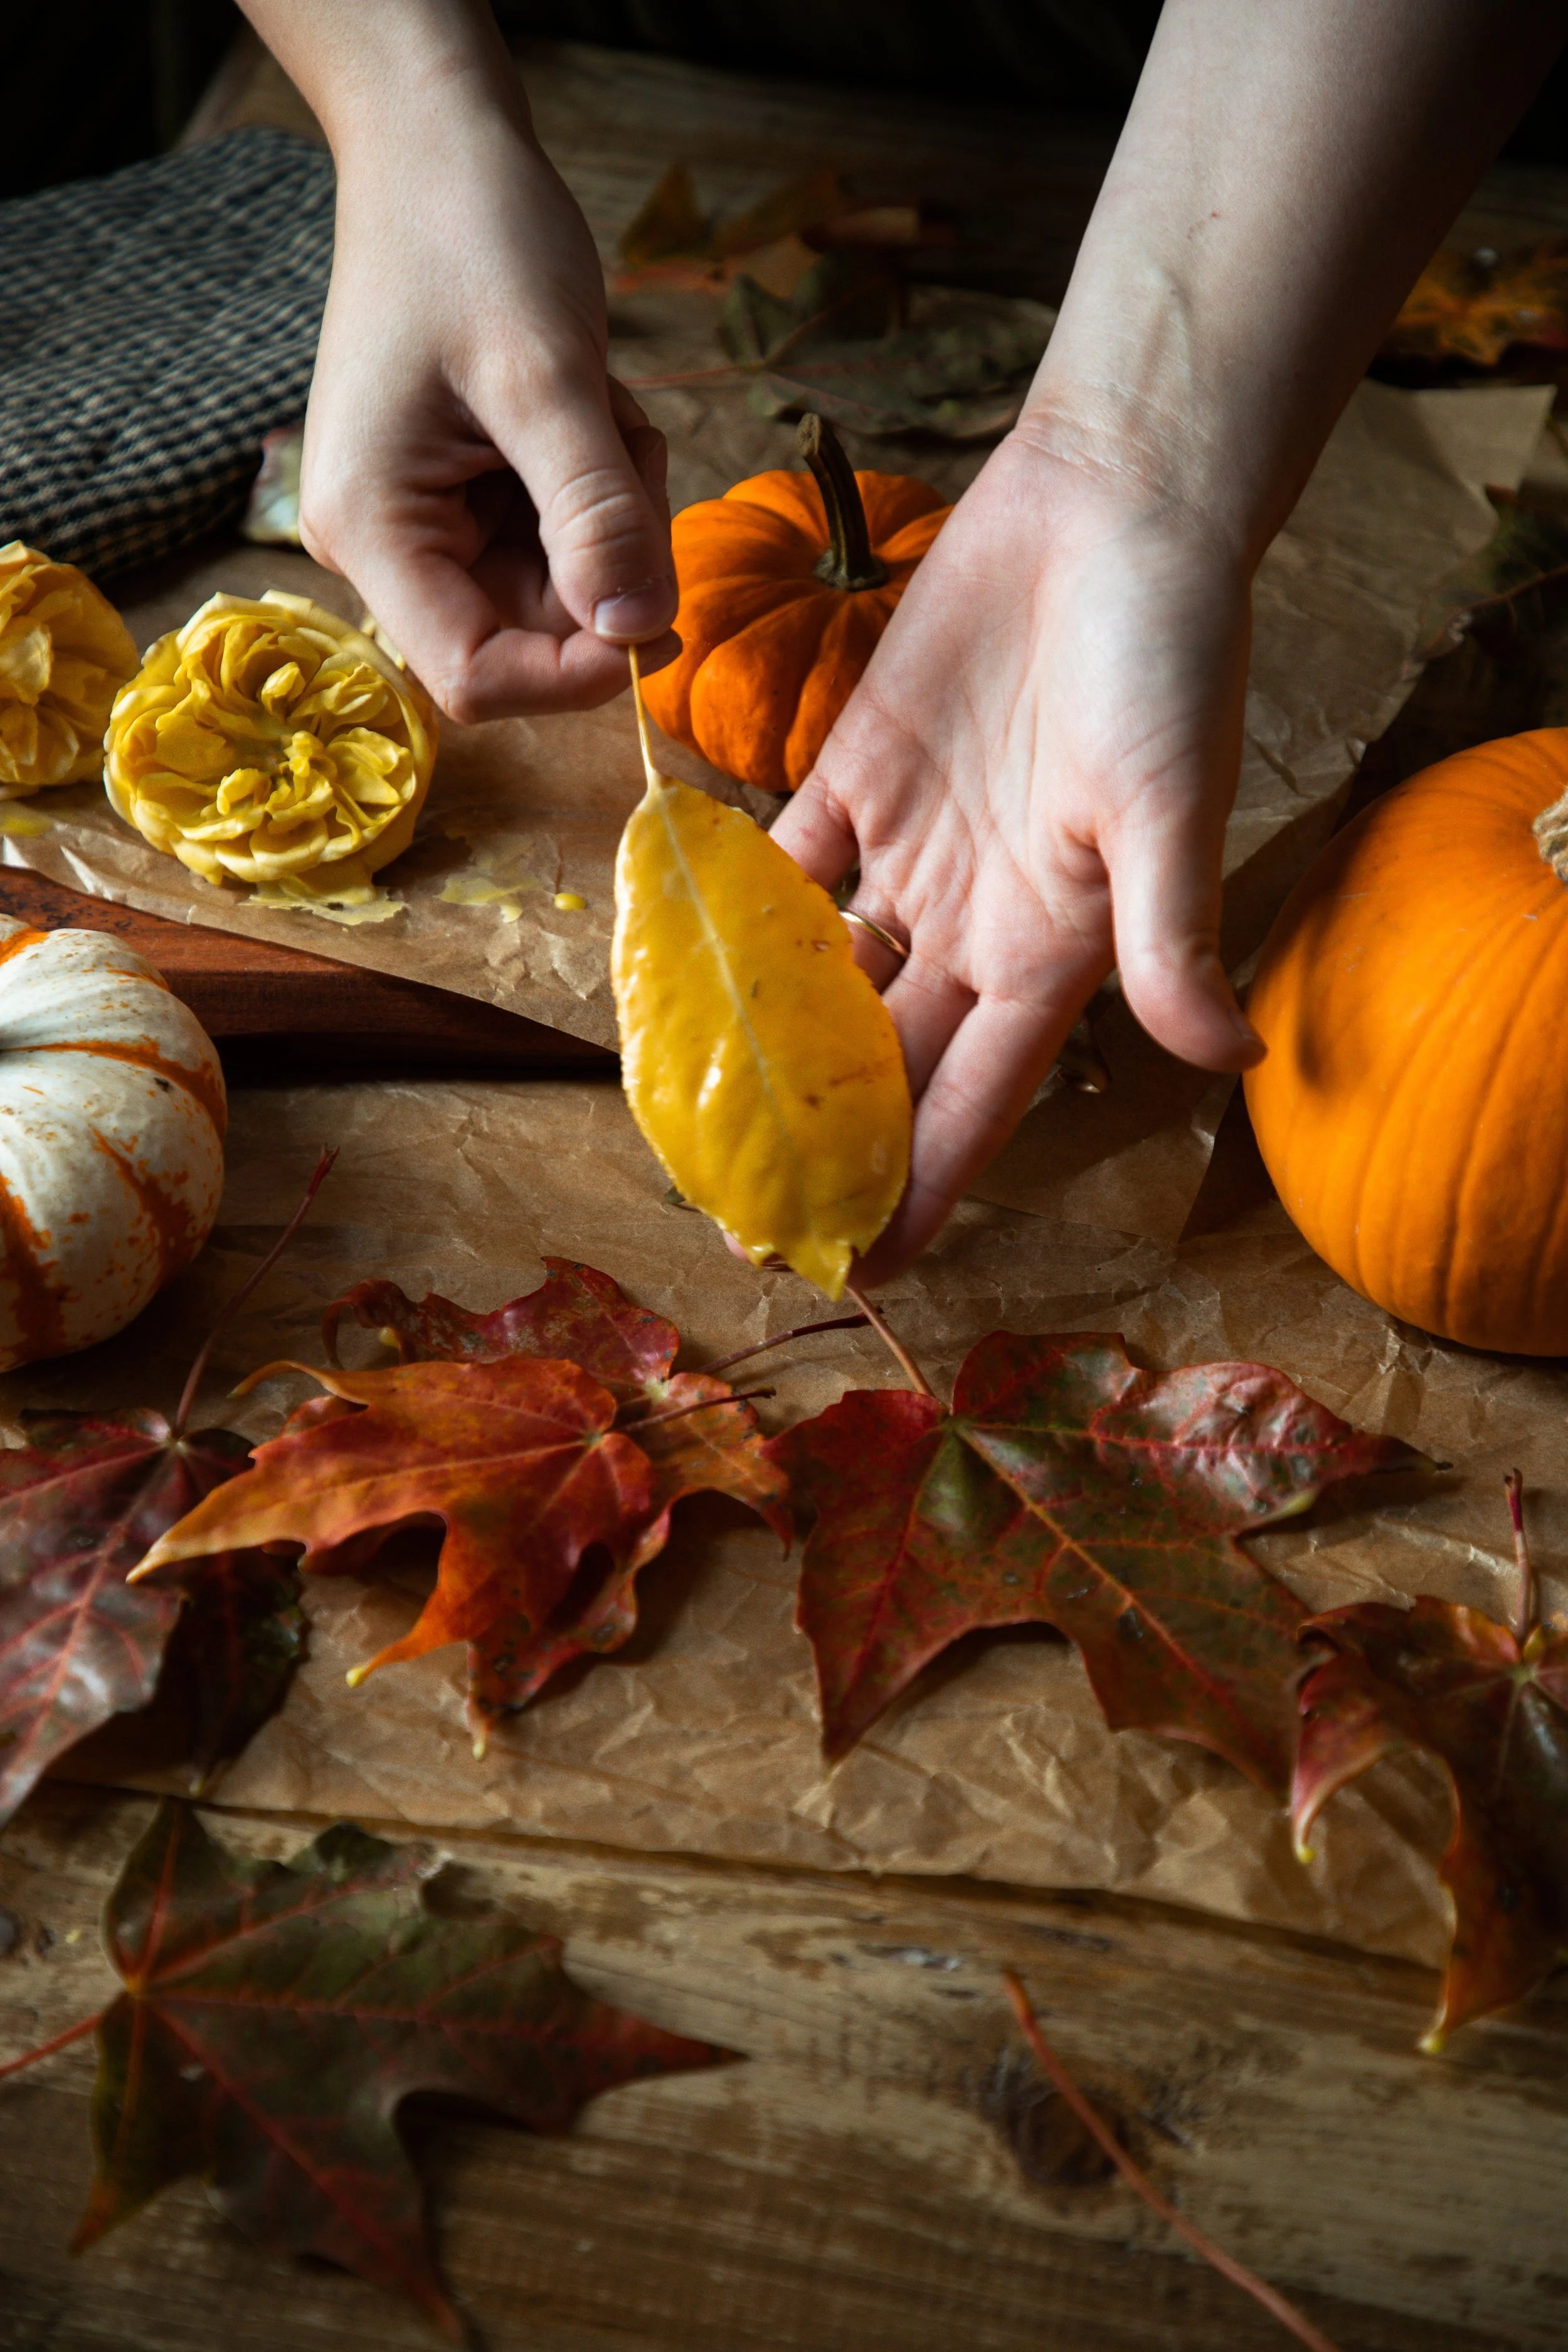
Hold the leaf by its stem and carefully dip it into the melted wax,
allowing the excess to drip away. Alternatively, place the leaf on
parchment and brush a thin layer of melted wax over its surface.
Never touch the hot wax directly.
STEP 04
Let Them Set
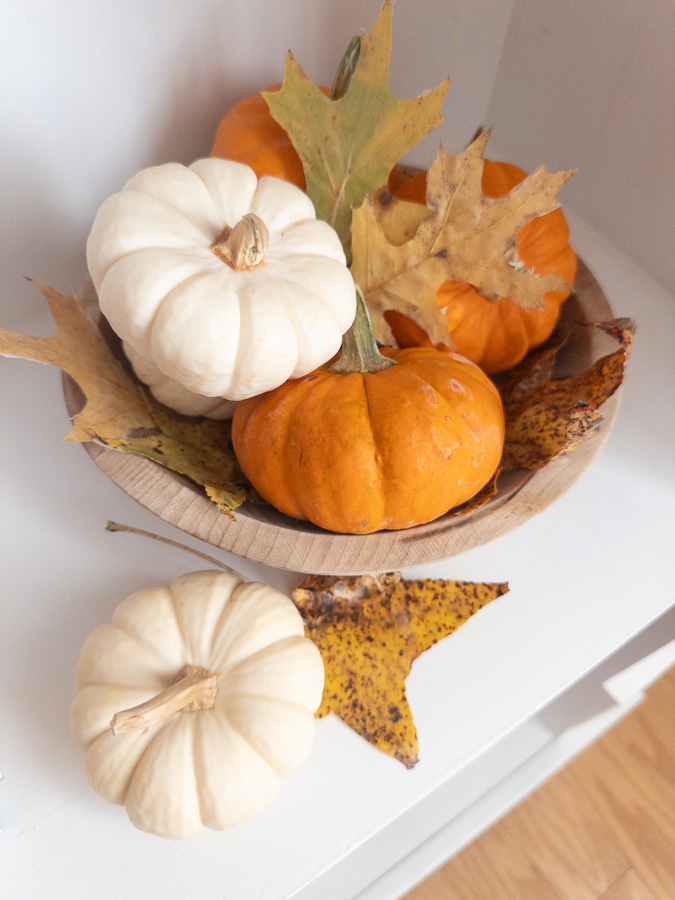
Lay each coated leaf on parchment paper and allow the wax to harden
completely. Once set, the leaves will have a subtle sheen and can be
used in bowls, arrangements, garlands, wreaths or other autumn
decorations.
Stíl Solas note:
Preserve several different shapes and colors for a more collected,
editorial arrangement. Deep burgundy, ochre, copper and faded green
work beautifully together for an October palette.
STÍL SOLAS • OCTOBER 2026
Beeswax Candle in a Glass Jar
A warm, golden candle that brings the quiet glow of autumn indoors.
What You’ll Need
- Beeswax pellets or grated beeswax
- A candle-rated heat-resistant glass vessel
- Cotton candle wick sized for your vessel
- Wick sticker or suitable wick adhesive
- Wick holder, pencil or wooden skewer
- Double boiler or dedicated wax-melting pitcher
- Heat-resistant work surface
- Scissors
- Candle fragrance, optional
STEP 01
Prepare Your Materials

Gather your beeswax, candle-rated glass vessel, cotton wick and wick
adhesive. Make sure the vessel is clean, completely dry and appropriate
for candle use before beginning.
STEP 02
Center the Wick

Attach the wick to the center of the bottom of the vessel using a wick
sticker or appropriate adhesive. Place a pencil, wooden skewer or wick
holder across the opening and secure the wick so it remains upright and
centered.
STEP 03
Melt the Beeswax
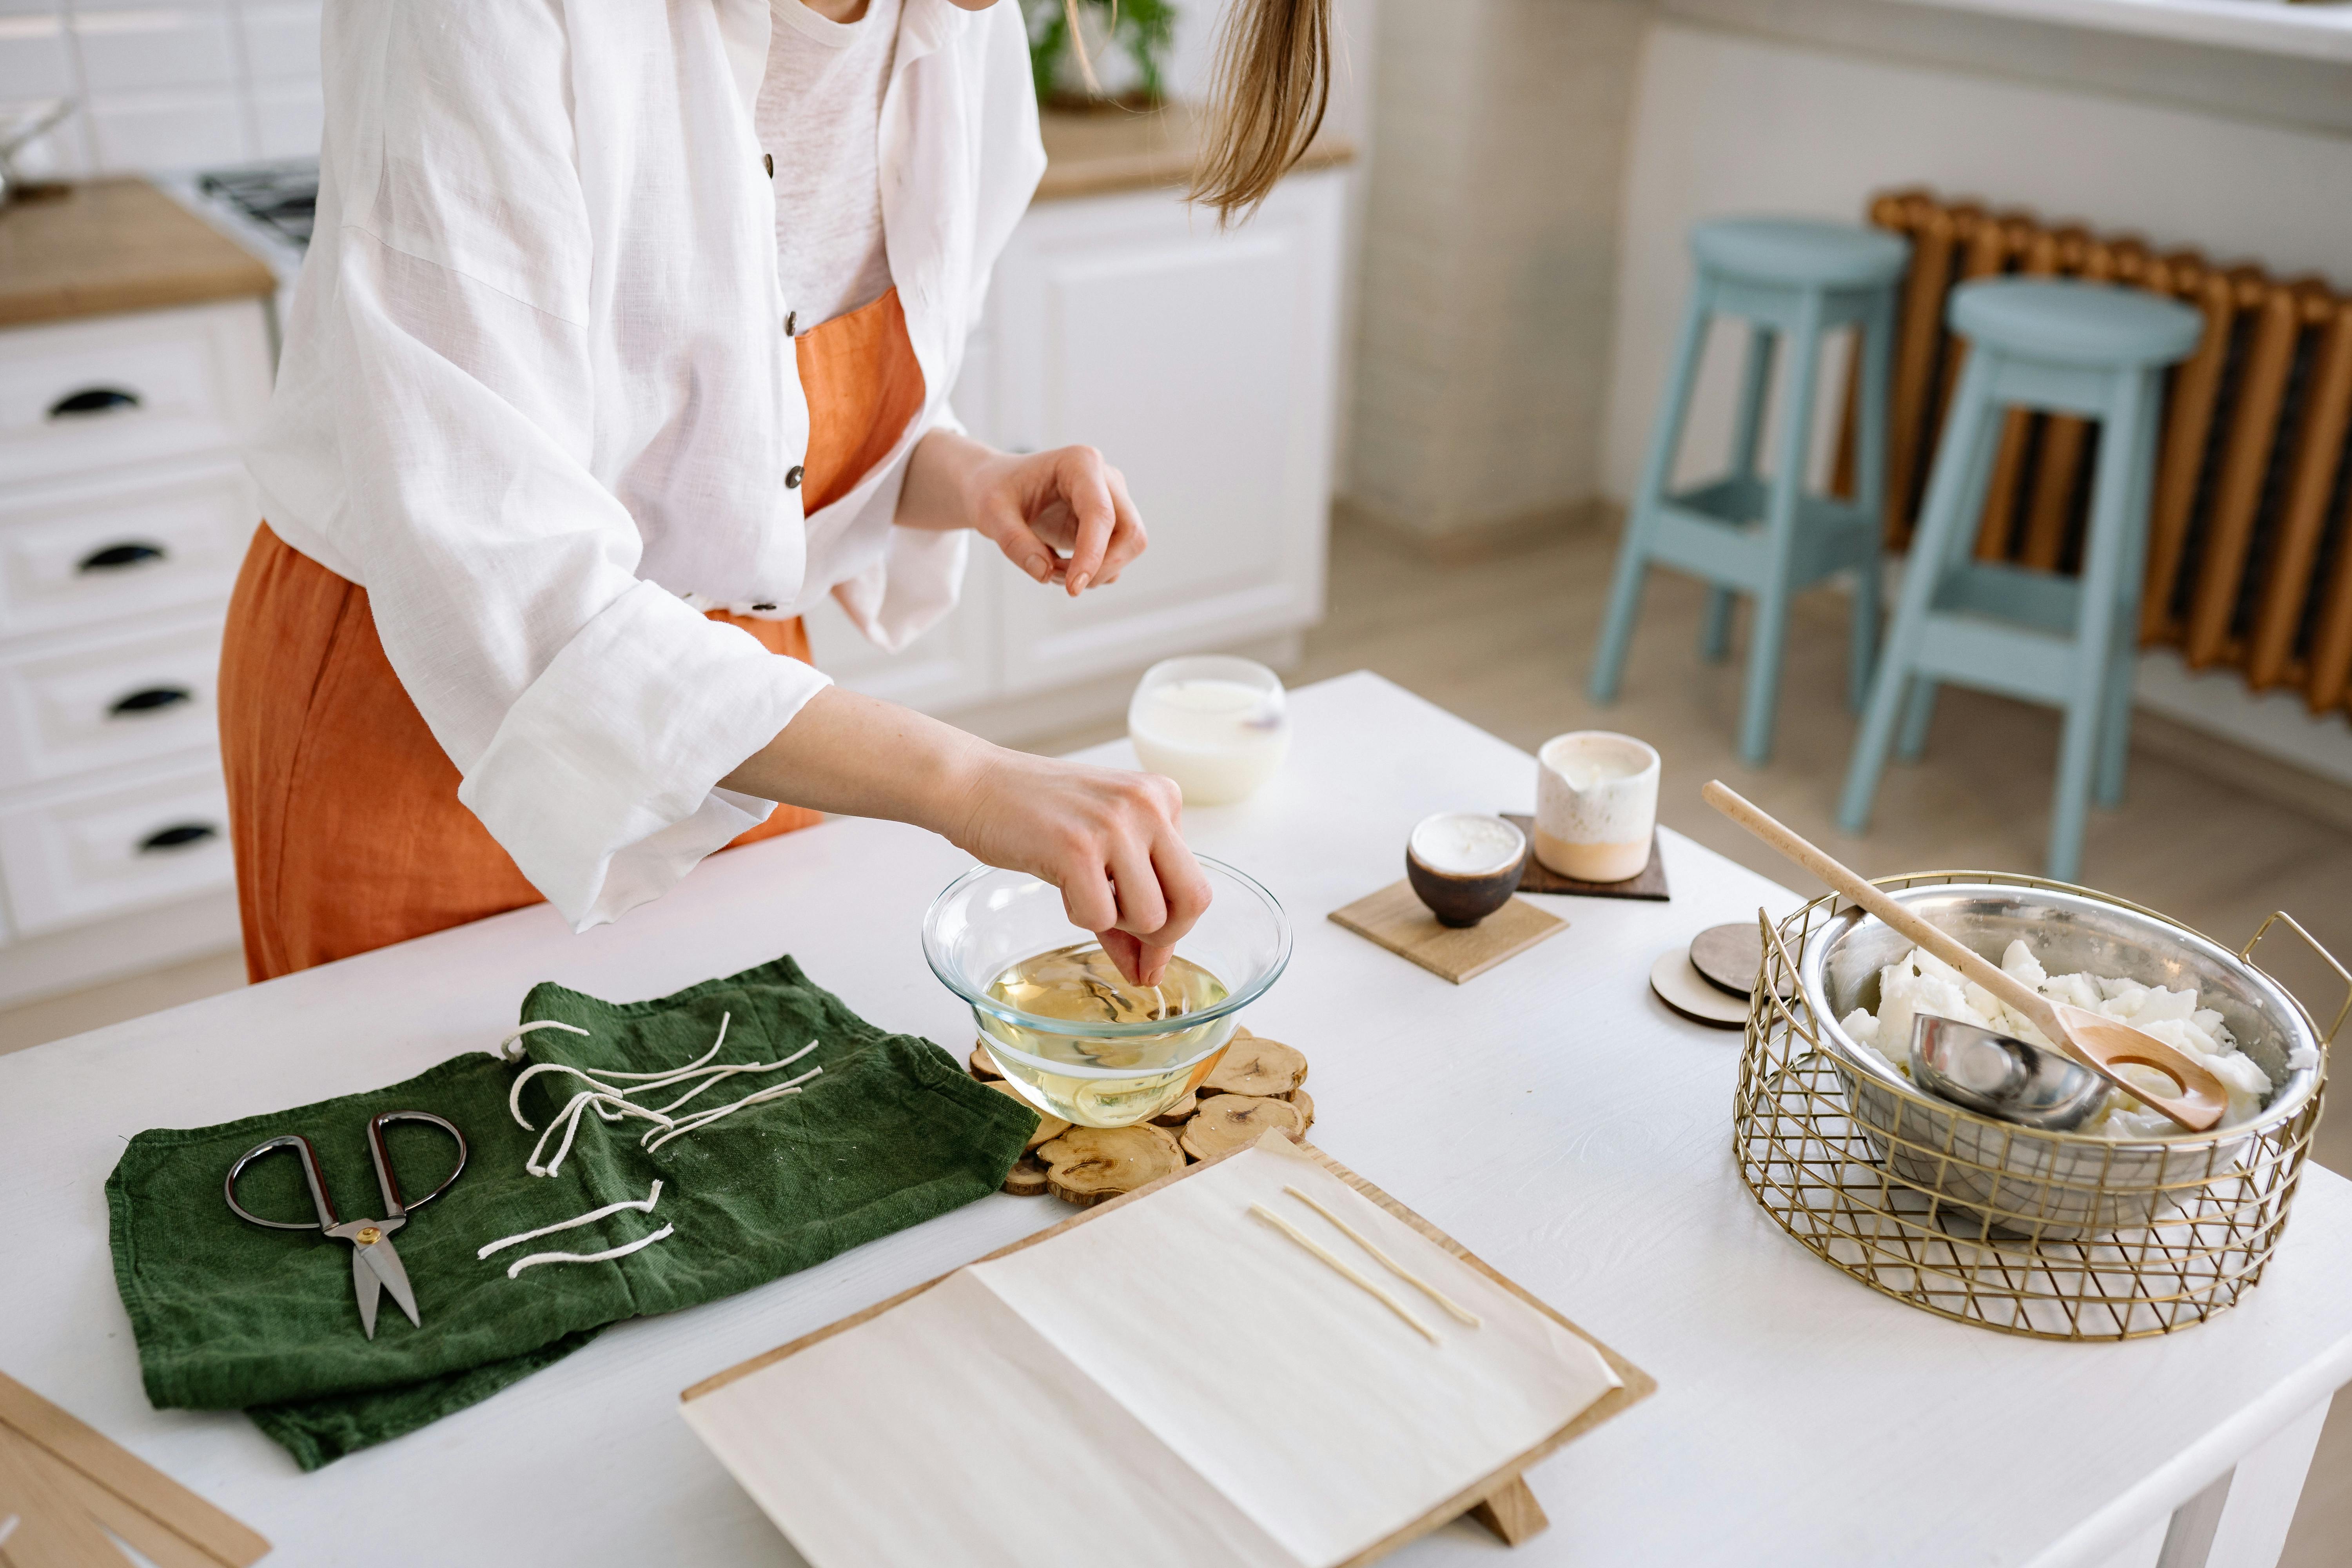
Melt the beeswax gently using a double boiler or dedicated wax-melting
pitcher. Stir carefully and monitor the temperature according to the
instructions supplied with your wax and wick. Never leave melting wax
unattended and never heat beeswax directly over an open flame.
STEP 04
Pour the Wax

Carefully pour the melted beeswax into the prepared vessel, leaving
appropriate headspace near the top. Check the wick immediately after
pouring and gently reposition it if necessary while the wax is still
liquid.
STEP 05
Let It Set
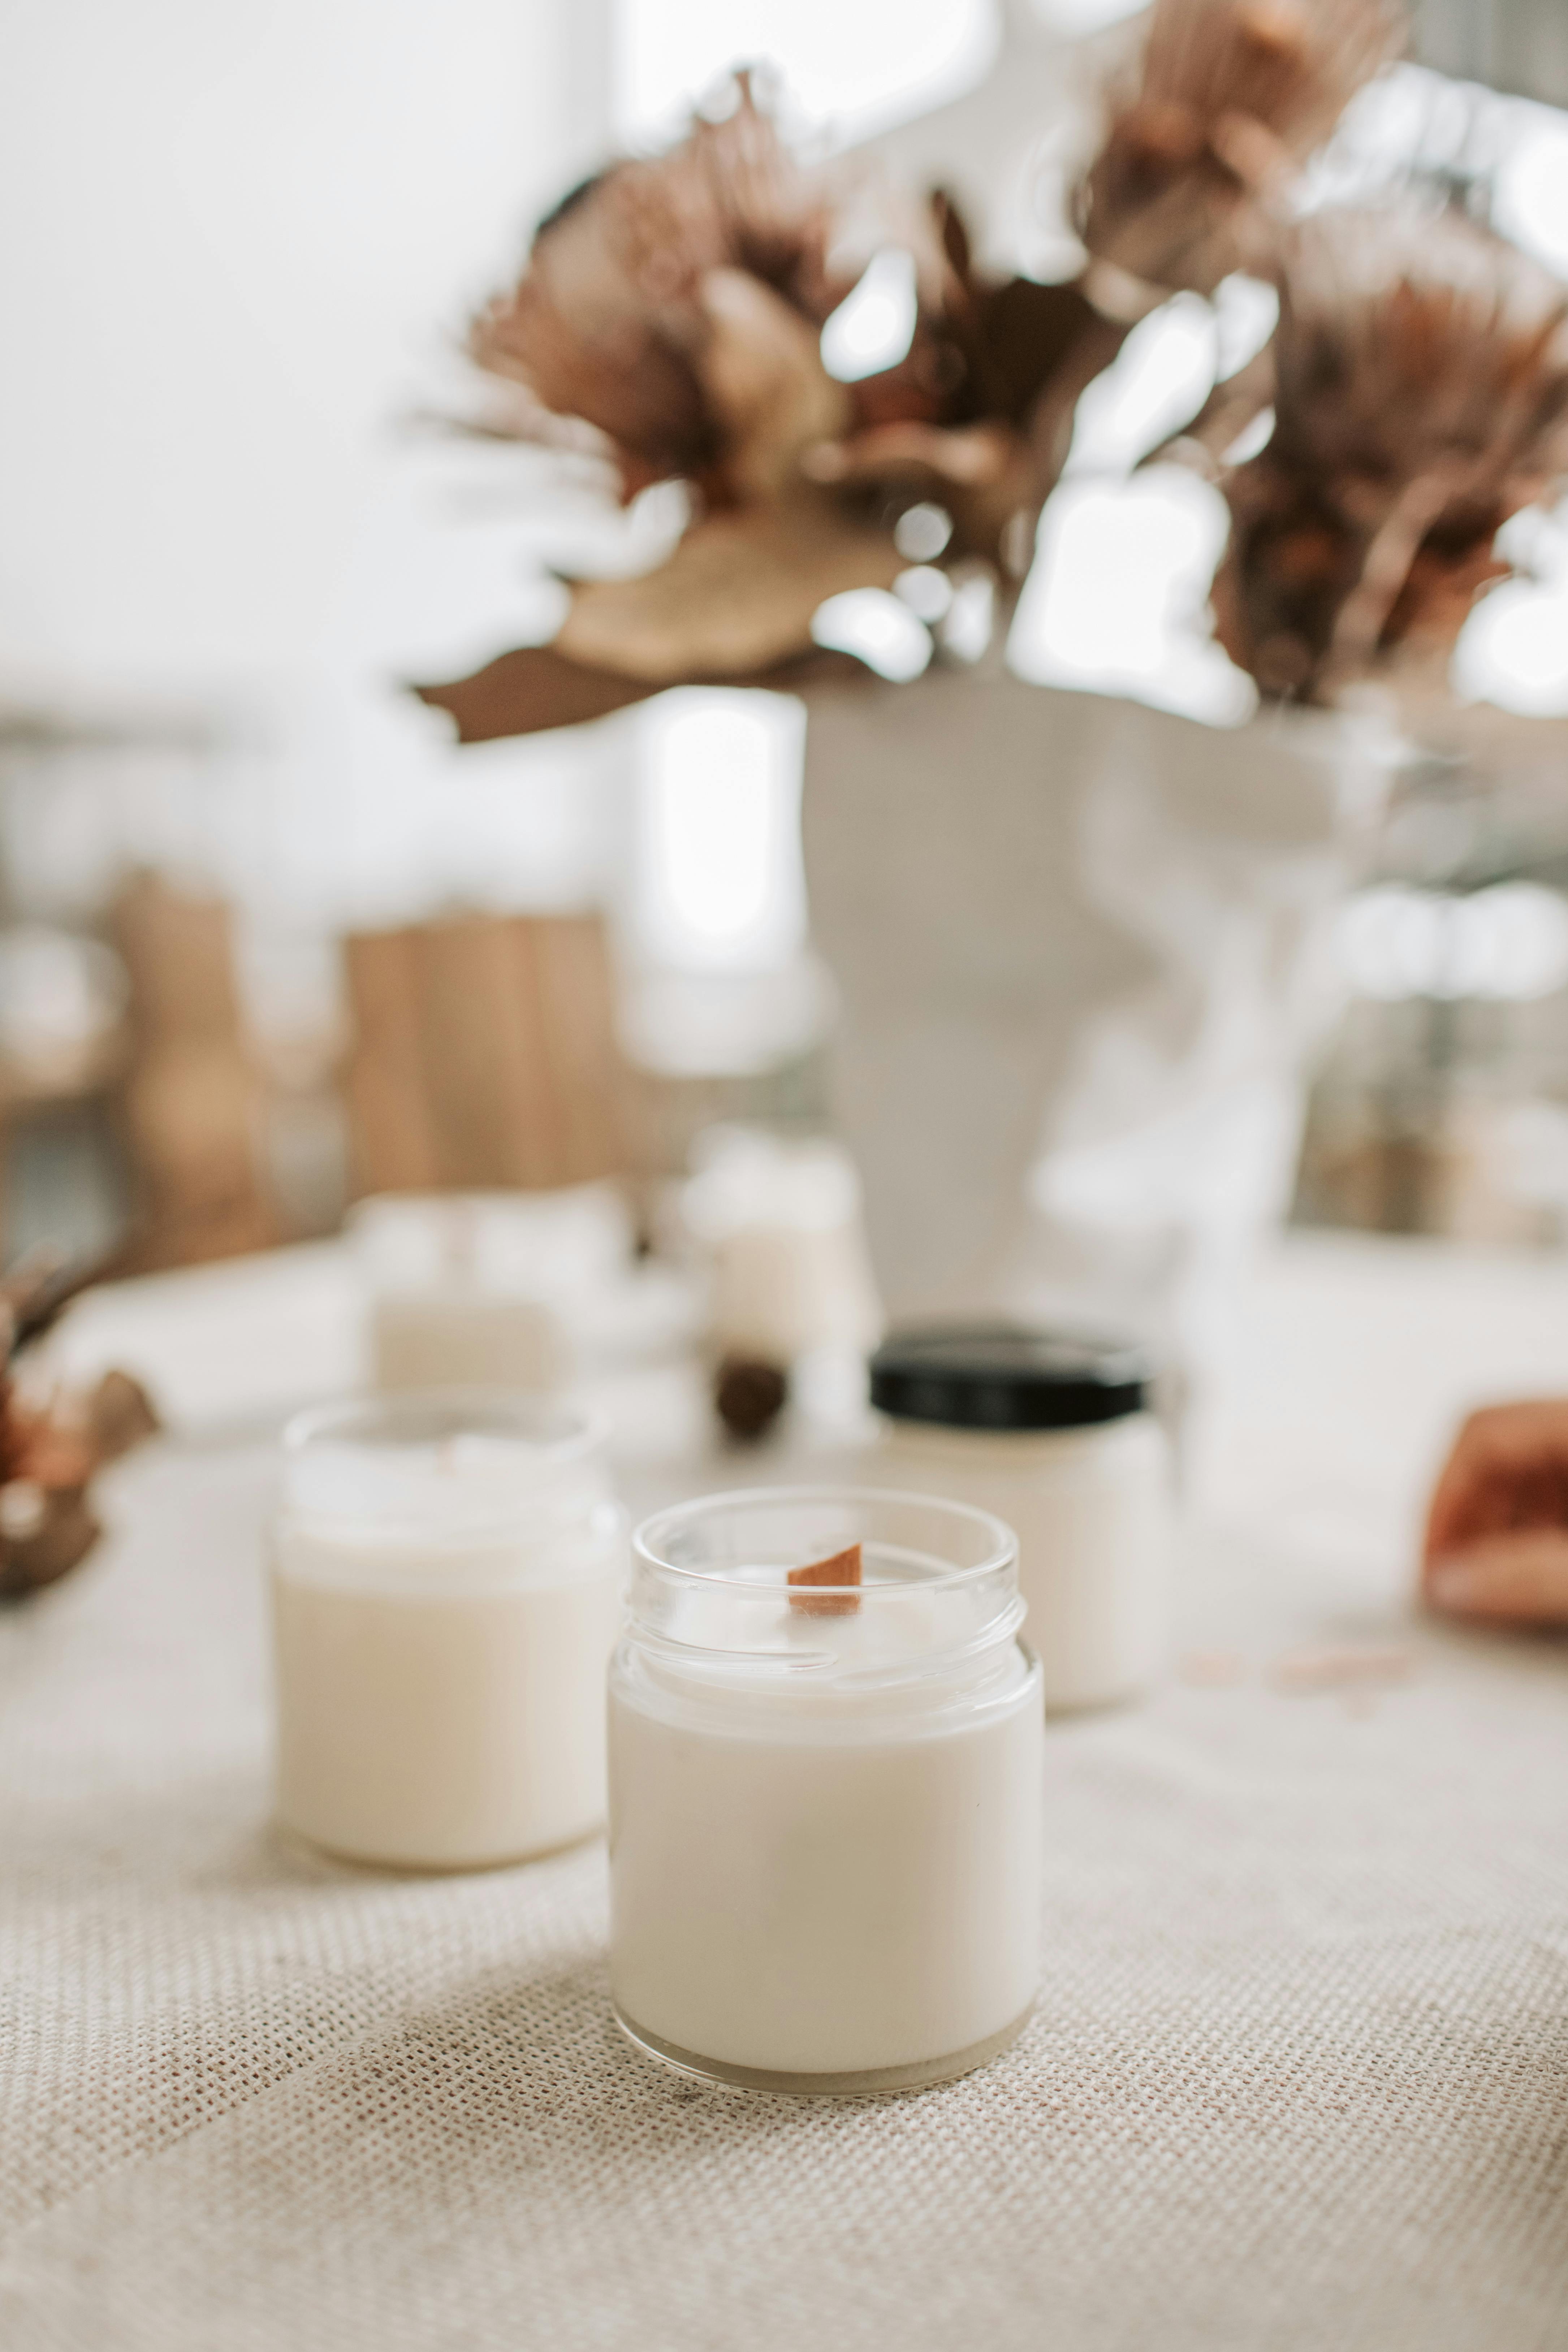
Leave the candle completely undisturbed until the beeswax has hardened.
Remove the wick holder and trim the wick according to the wick
manufacturer’s recommendations before lighting.
A note on candle safety:
Melted wax is extremely hot. Use appropriate heat-resistant equipment,
never leave melting wax unattended, and keep the candle-making area
away from children, pets and anything that could catch fire.
Stíl Solas note:
Keep the finished candle beautifully understated. Natural beeswax,
clear glass and a simple cotton wick create an understated autumn piece
that feels equally at home on a bedside table or dinner setting.
STÍL SOLAS • OCTOBER 2026
Botanical Dyeing with Acorns & Onion Skins
Turn autumn’s fallen treasures and kitchen scraps into rich,
earthy color for a natural-fiber shirt.
Autumn gives us more than beautiful scenery. Acorns and onion skins
contain natural pigments and tannins that can be extracted into dye
baths for natural fibers. Acorns tend toward warm brown and nutty
shades, while yellow onion skins can create golden yellow to amber
tones.
For the most predictable result, begin with a clean, natural-fiber
shirt such as cotton or linen. Natural dyes can vary depending on the
fiber, dye material, concentration and soaking time, so think of this
project as part craft and part color experiment.
What You’ll Need
- One clean, pre-washed natural-fiber shirt
- Several handfuls of dry yellow or red onion skins
- Acorns
- A large stainless-steel or enamel dye pot used only for dyeing
- Water
- Wooden spoon or dedicated dye utensil
- Tongs
- Strainer or colander
- Cheesecloth or muslin for filtering
- Rubber bands or cotton string, optional for creating patterns
- Alum mordant, optional and used according to its manufacturer’s directions
- Protective gloves
STEP 01
Prepare the Natural Materials

Begin by collecting your acorns and dry onion skins. Remove any dirt
or debris from the acorns. If using an acorn dye, lightly crush or
crack the acorns so the natural color compounds can escape into the
water more easily.
Wash your shirt before dyeing to remove manufacturing finishes,
oils or residues that could interfere with color absorption.
STEP 02
Make the Dye Bath
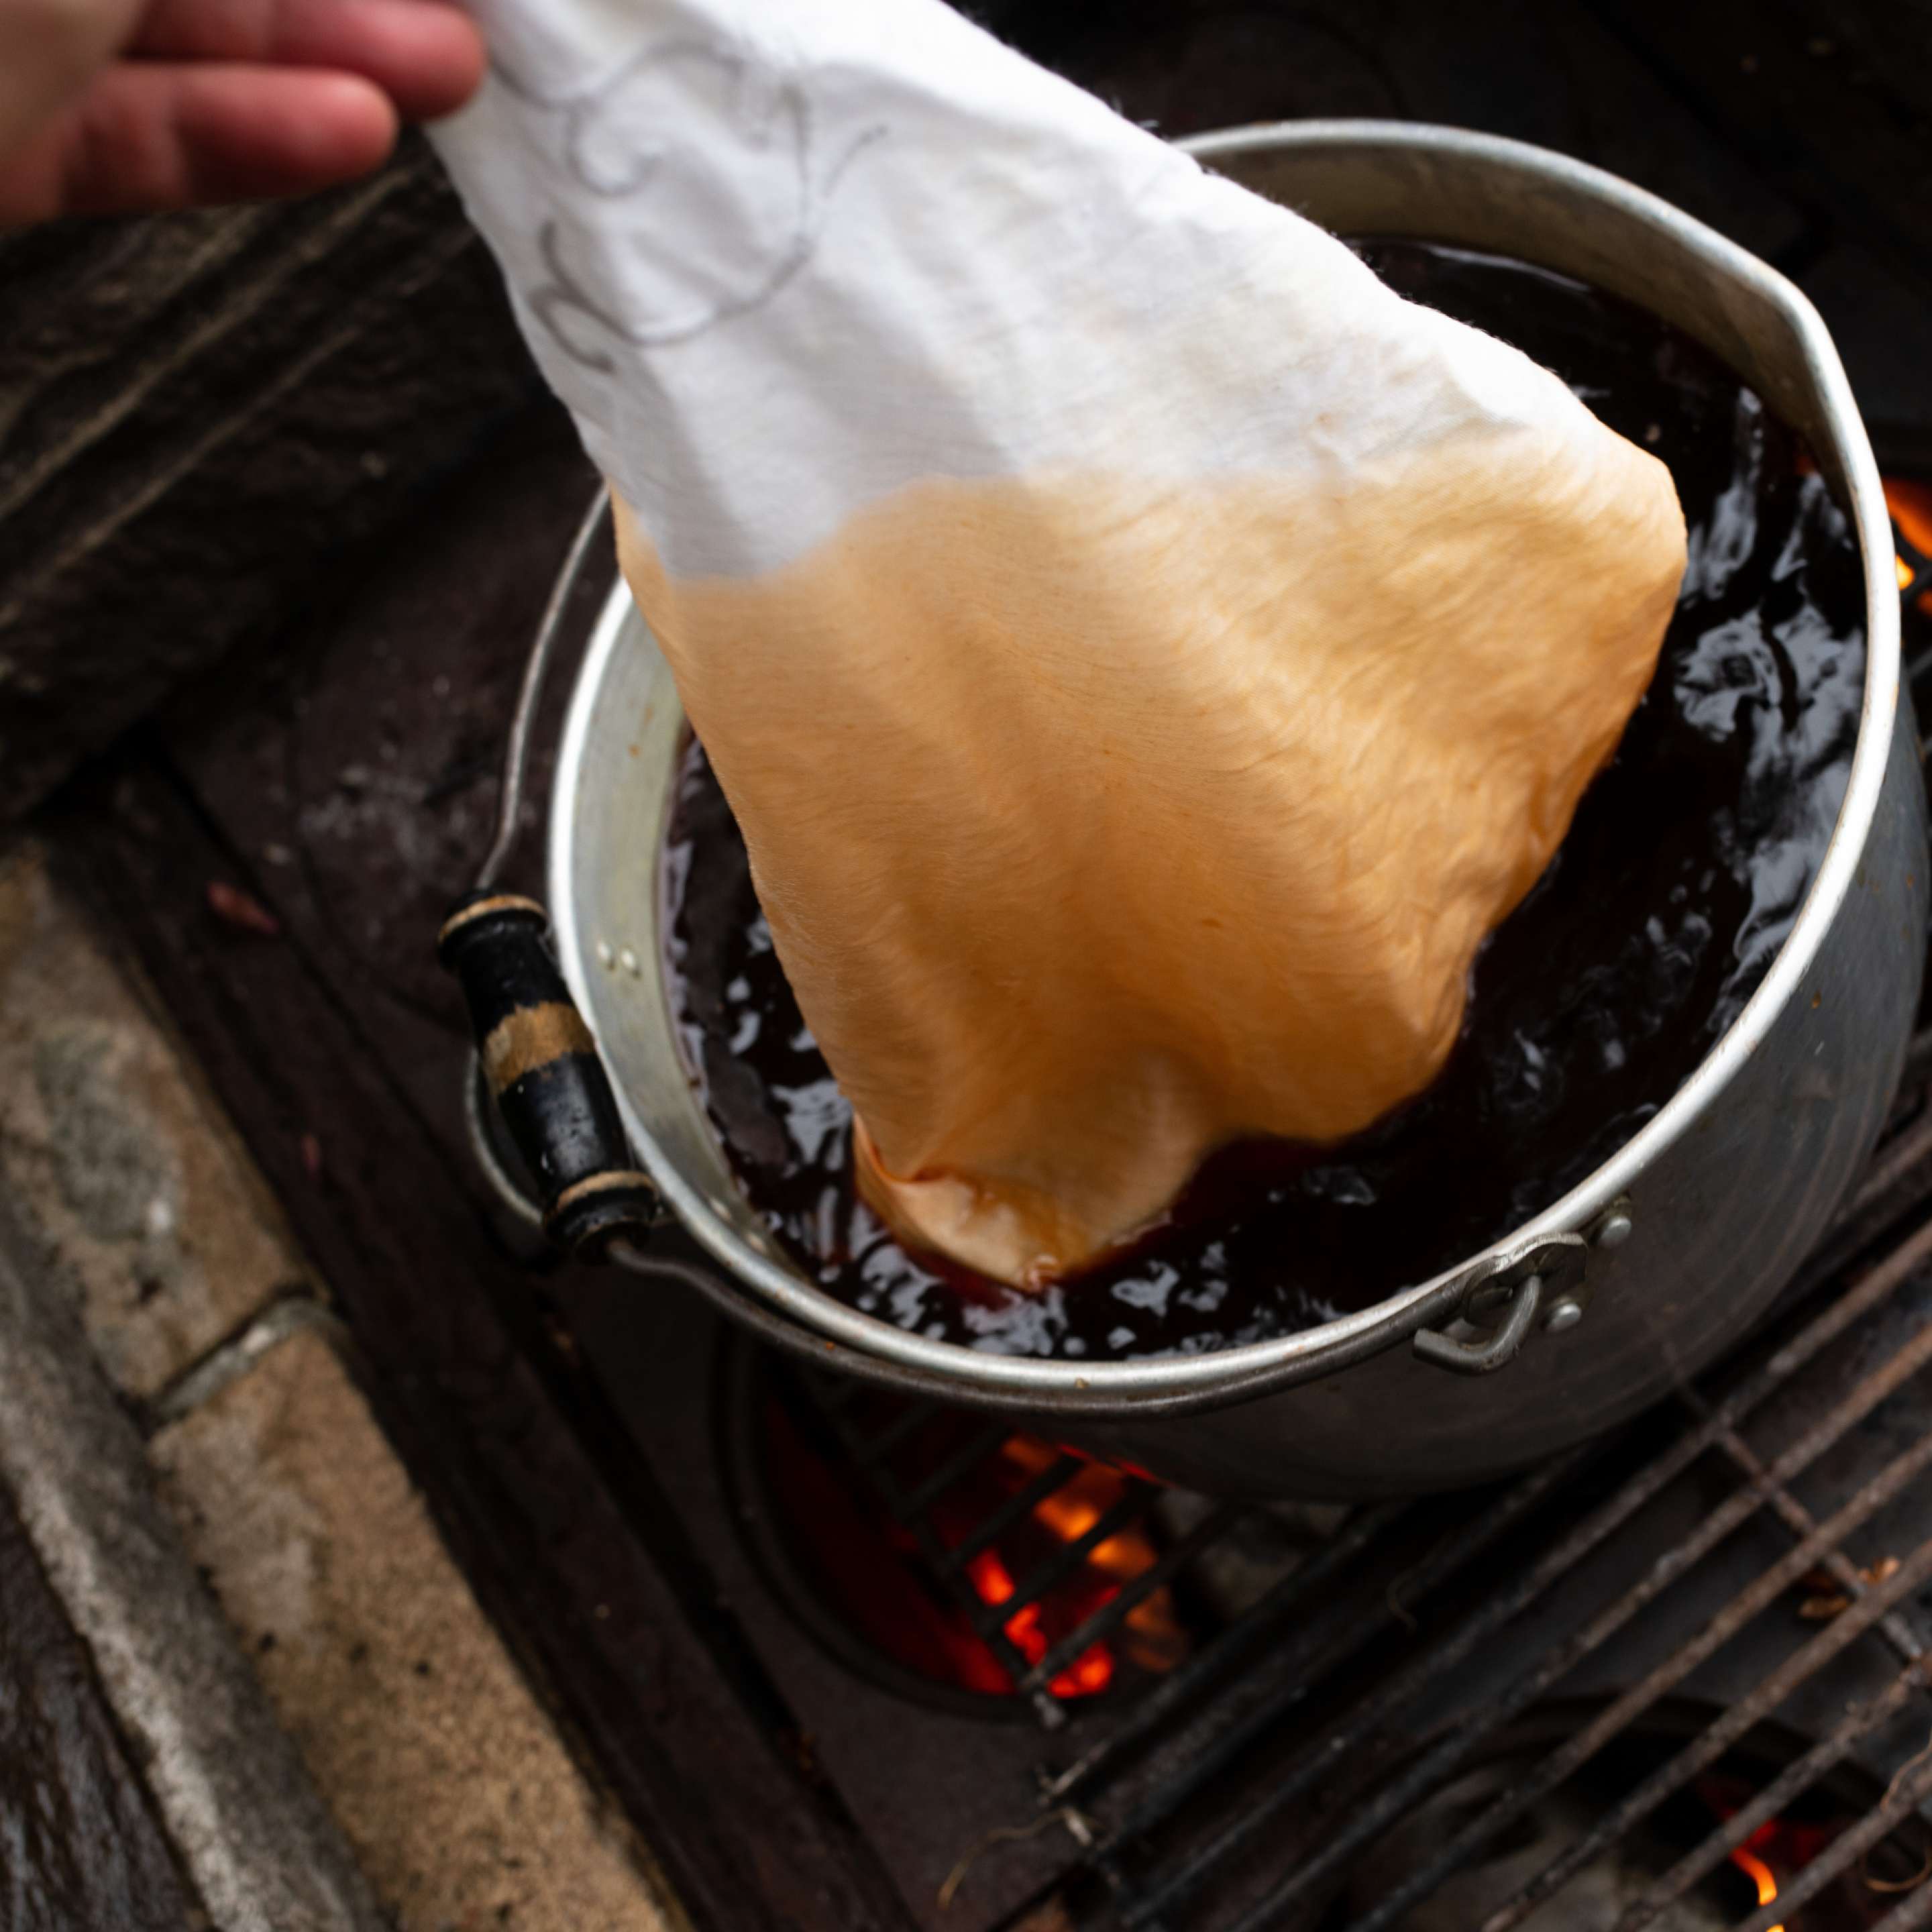
Place the onion skins and cracked acorns into separate dye pots,
cover them generously with water and bring each mixture to a gentle
simmer. Allow the plant material to release its color slowly.
Onion skins can produce golden, yellow and amber tones, while acorns
create warmer brown shades. Once the color has developed, strain the
plant material from the liquid before adding your shirt.
STEP 03
Dye the Shirt

Thoroughly wet the shirt before placing it into the dye bath. Submerge
the fabric completely and gently move it around with dedicated tongs
or a dye utensil so the color can reach the fibers evenly.
Keep the bath at a gentle simmer rather than a vigorous boil. Continue
dyeing until the shirt reaches the depth of color you want. For a
deeper shade, allow the shirt to cool and remain submerged for several
hours or overnight.
Want a More Artistic Pattern?
Before dyeing, fold, twist or pleat the damp shirt and secure sections
with rubber bands or cotton string. The compressed areas will absorb
less dye, creating organic variations of light and dark once the shirt
is unfolded.
STEP 04
Rinse, Dry & Reveal

Remove the shirt from the dye bath and allow excess dye to drain.
Rinse gently in cool water until the water runs mostly clear. If you
used a mordant, follow the product instructions for rinsing and
finishing.
Wash the shirt separately using a gentle, pH-neutral detergent and
allow it to air-dry away from strong direct sunlight. Natural dyes
can fade over time, particularly with repeated washing and prolonged
sun exposure.
A note on dye safety:
Keep a separate set of pots, utensils and strainers for natural
dyeing rather than returning them to food preparation. Wear gloves
when handling hot dye baths or mordants, and follow the safety
instructions supplied with any mordant you use.
Stíl Solas note:
Let the imperfections be part of the beauty. Natural dyeing rarely
produces a perfectly uniform color, which is precisely what gives
each finished piece its one-of-a-kind autumn character.
STÍL SOLAS • OCTOBER CRAFT ARCHIVE
Intricate Paper Lanterns
Turn autumn cardstock into an illuminated work of paper art, using delicate cutouts,
layered panels and a soft LED glow.

Materials
- 80–100 lb cardstock in an autumn shade
- Vellum or translucent paper for optional diffuser panels
- Scissors or a precision craft knife
- Ruler and pencil
- Scoring tool or an empty ballpoint pen
- Paper glue or glue dots
- String, ribbon or twine for hanging
- Battery-operated LED fairy lights or an LED tea light
- Optional: cutting machine and lantern template
Step 01
Prepare the Lantern Pieces

Choose a rich autumnal cardstock such as burnt orange, deep green, warm ivory,
burgundy or chocolate brown. Cut the lantern panels according to your chosen
template. If you do not have a cutting machine, the design can also be printed
and cut by hand.
For an especially delicate effect, cut matching diffuser panels from vellum or
another translucent paper. These layers soften the light behind the intricate
openings.
Step 02
Create the Intricate Cutwork

Carefully remove the small interior pieces from each lantern panel. Work slowly
around leaves, branches, geometric details or other decorative motifs so the
narrow bridges of cardstock remain intact.
If you are using a scoring tool, lightly score the fold lines before assembly.
Keep the cut panels flat and organized as you work; this makes the final
construction much easier.
Step 03
Add the Diffuser & Assemble

If using vellum, attach each diffuser to the back of its matching cutout panel.
A thin line of paper glue around the border is enough to hold it in place.
Fold the scored tabs and begin joining the panels together. Work around the
lantern one section at a time, keeping the edges aligned so the finished form
remains symmetrical.
Once the main panels are connected, secure the top and bottom sections. Add a
small loop of string or ribbon if you plan to hang the lantern.
Step 04
Add the Autumn Glow

Use a small strand of battery-powered LED fairy lights or an LED tea light.
Feed the lights through the opening in the base and gently spread them inside
the lantern so the glow reaches the cutout panels evenly.
Important safety note
Paper is highly flammable. Never place a real candle or open flame inside
a paper lantern. Use only battery-operated LED lighting, and keep the
battery pack accessible so the lights can be switched off safely.
Step 05
Let the Pattern Take the Spotlight

Turn the lights down and let the cutwork become the focal point. The illuminated
openings create delicate shadows across nearby walls and surfaces, transforming
a simple sheet of cardstock into a sculptural piece of autumn décor.
Hang one lantern individually for a quiet statement, or arrange several at
different heights for a more dramatic October display.
STÍL SOLAS EDITORIAL NOTE
Paper lanterns have a particular autumnal charm: delicate by day, atmospheric
by night. Choose restrained colors—burnished copper, forest green, parchment,
oxblood or charcoal—for a finished piece that feels more like seasonal
interior design than traditional holiday décor.

